
Published VietVisas
How to Photograph Your Documents at Home with a Phone
How to photograph or scan documents with your phone so they are sharp, complete and glare-free — with tips for passports, green cards, birth and marriage records.
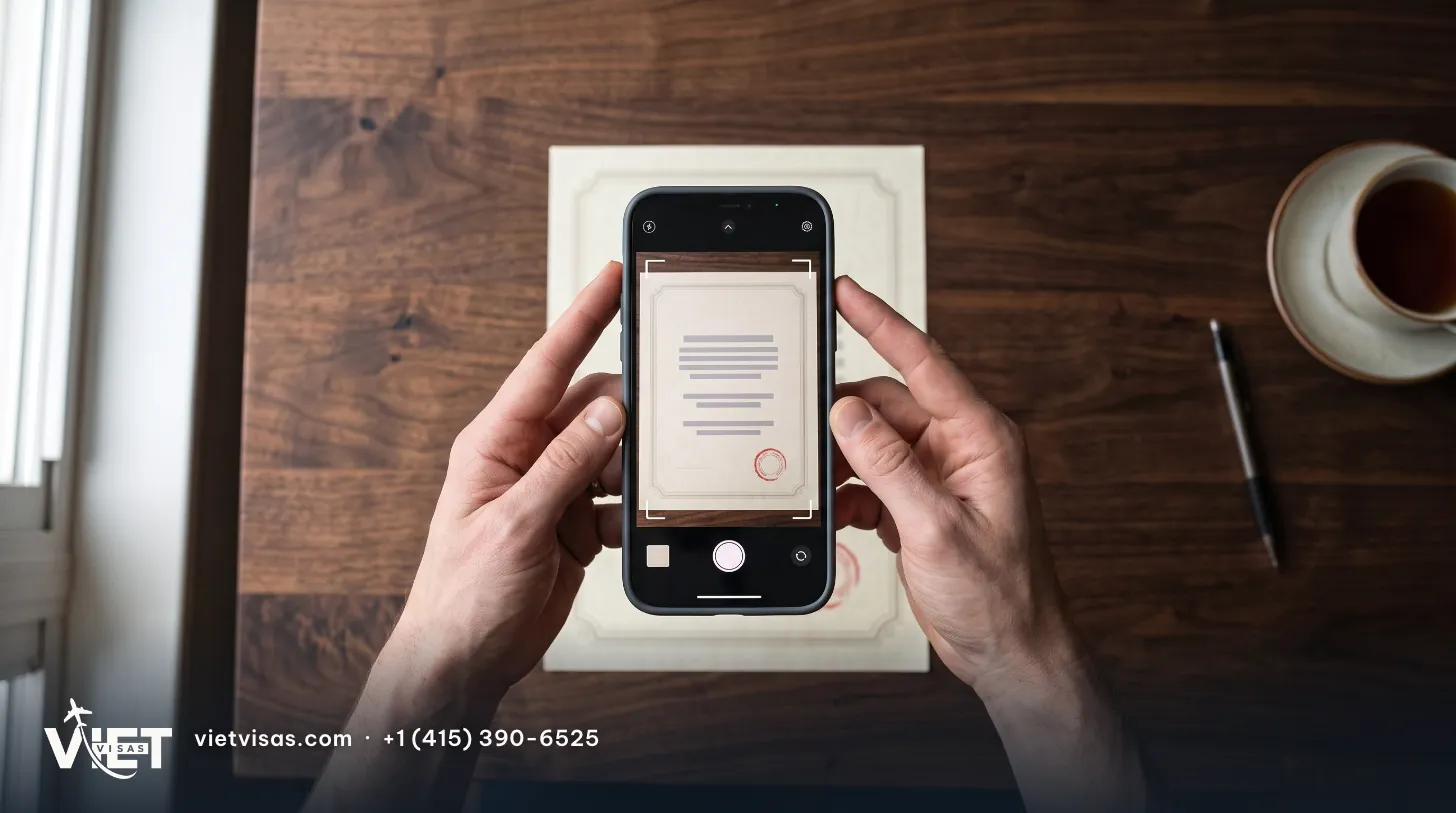
Most Vietnamese paperwork handled from the U.S. starts with a few photos of your documents. Clear photos mean your file is checked quickly with fewer follow-up questions; a blurry, glared or cropped photo has to be retaken — sometimes costing a day or two over a single picture. You don't need a scanner: a phone, a table and daylight from a window are enough.
Before you start
- Use natural light near a window. Daytime is best. Don't stand between the light and the page, or your shadow and your phone's shadow will fall across it.
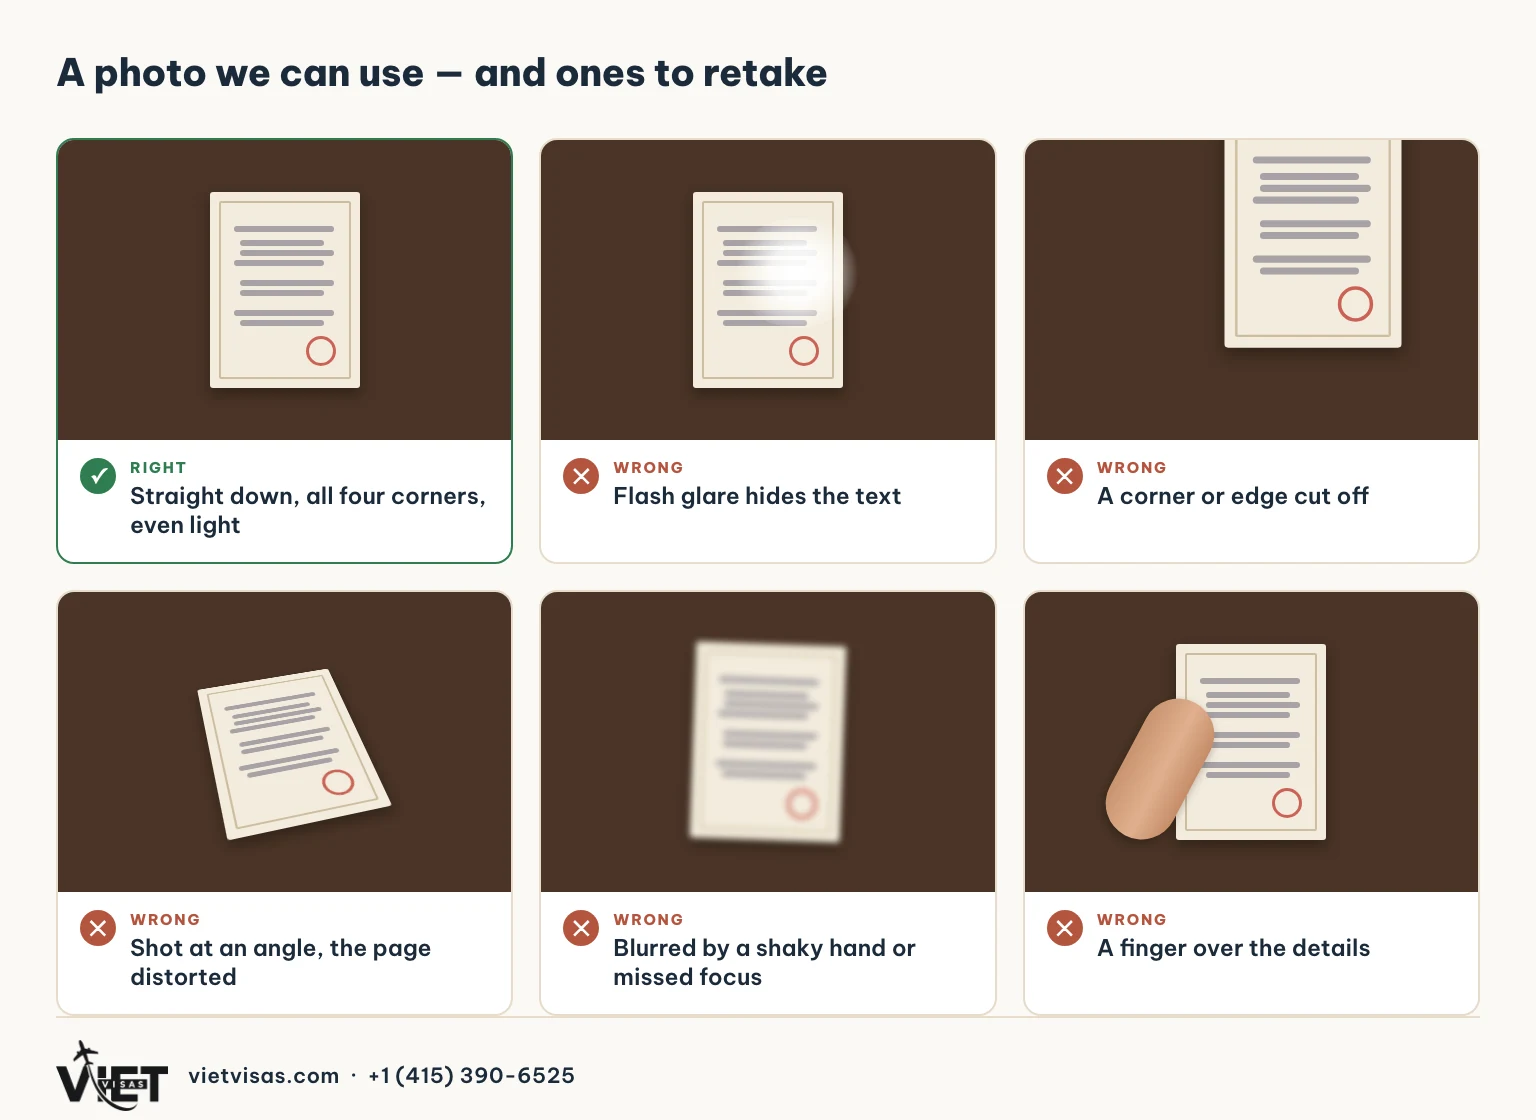
- Turn the flash off. Flash almost always leaves a glare spot, especially on passports, plastic cards and laminated paper.
- Put the page on a dark, plain surface. A dark wooden table or a sheet of black paper helps the phone find the edges, so nothing gets cropped.
- Take documents out of sleeves and covers. Plastic reflects light and smears the text.
- Wipe the camera lens. One fingerprint on the lens is enough to blur the whole photo.
How to take the photo
- Lay the page flat. If it has been folded many times, weigh down the edges lightly — never on top of the text.
- Hold the phone parallel to the page and shoot straight down.
- Get all four corners and the border. Leave a little table showing around the page; don't crop tight.
- Tap the screen to focus, then hold still for a second before you press the shutter.
- No zoom, no filters, no colour adjustments. Take an ordinary colour photo.
- Zoom in on the photo to check it. Only send it if every word, number, stamp and signature is readable.
Use your phone's built-in document scanner
For a clean, scanner-like result you don't need to install anything — your phone already has the tool:
- iPhone: open Notes, start a new note, tap the camera or paperclip icon and choose Scan Documents. It finds the page edges, straightens the page and saves a PDF.
- Android: open Google Drive, tap + and choose Scan.
For a document with several pages, scan them in one go so they are saved as a single PDF in page order.
Tips for each type of document
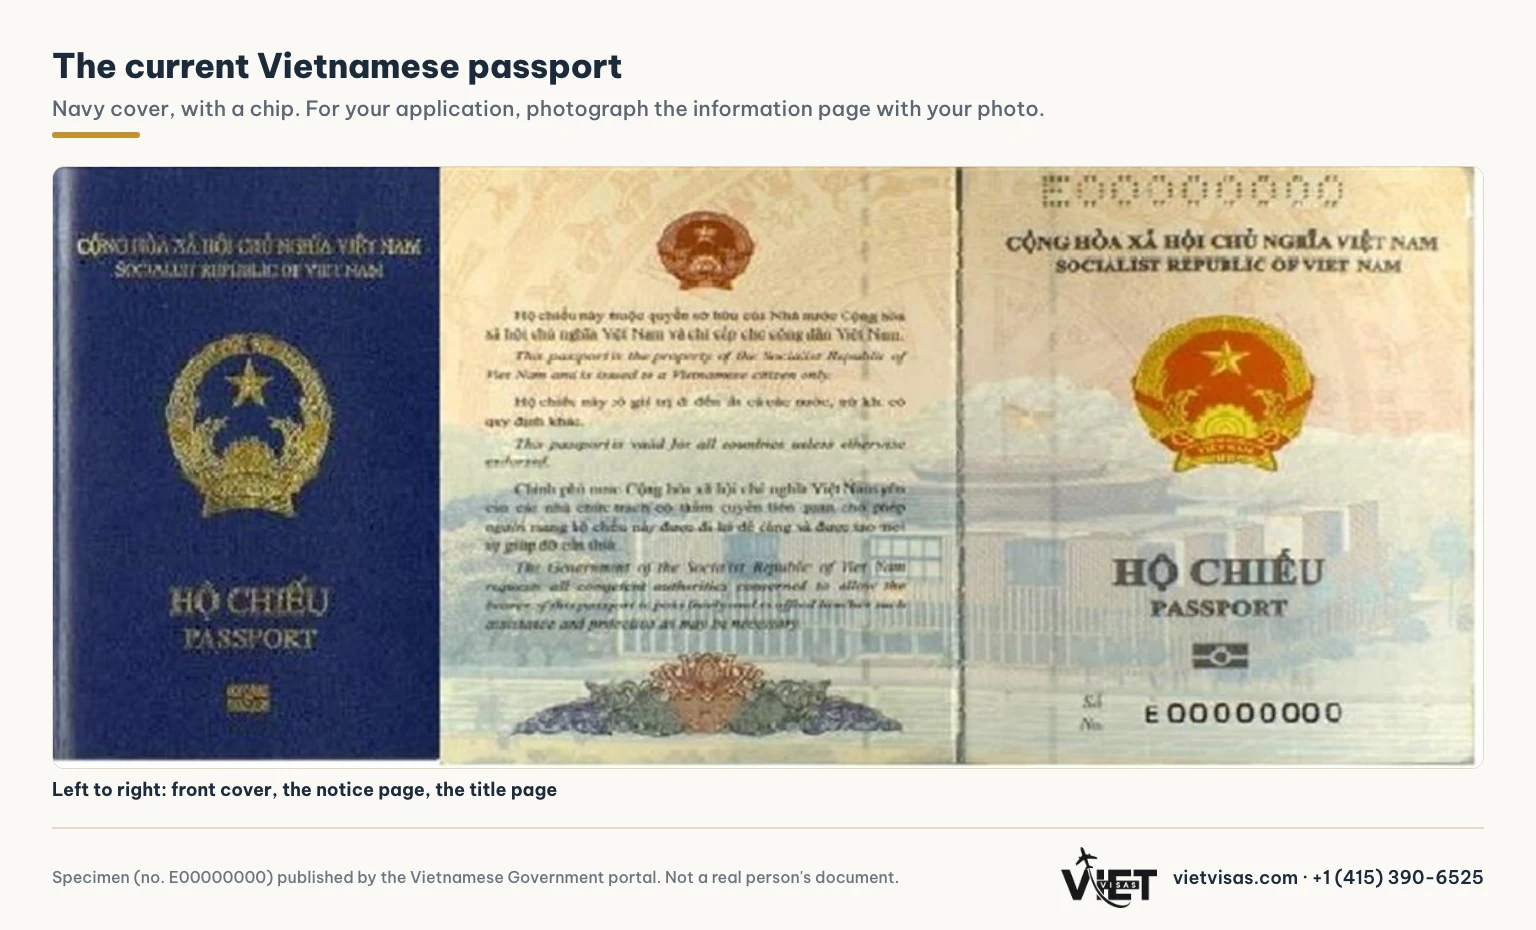
Vietnamese passport
- Photograph the information page with your photo: open the passport, press it flat and capture both open pages in full.
- An expired passport is photographed the same way.
- If the passport has an observations, amendment or extension page, photograph that page too.
U.S. passport, green card, driver's license, Vietnamese ID card
- U.S. passport: photograph the information page with your photo.
- Green card, driver's license, Vietnamese ID card (CCCD): photograph both sides, one photo per side.
- Plastic cards glare easily. If you see a bright spot, change where you stand relative to the window until it disappears, then shoot straight down.
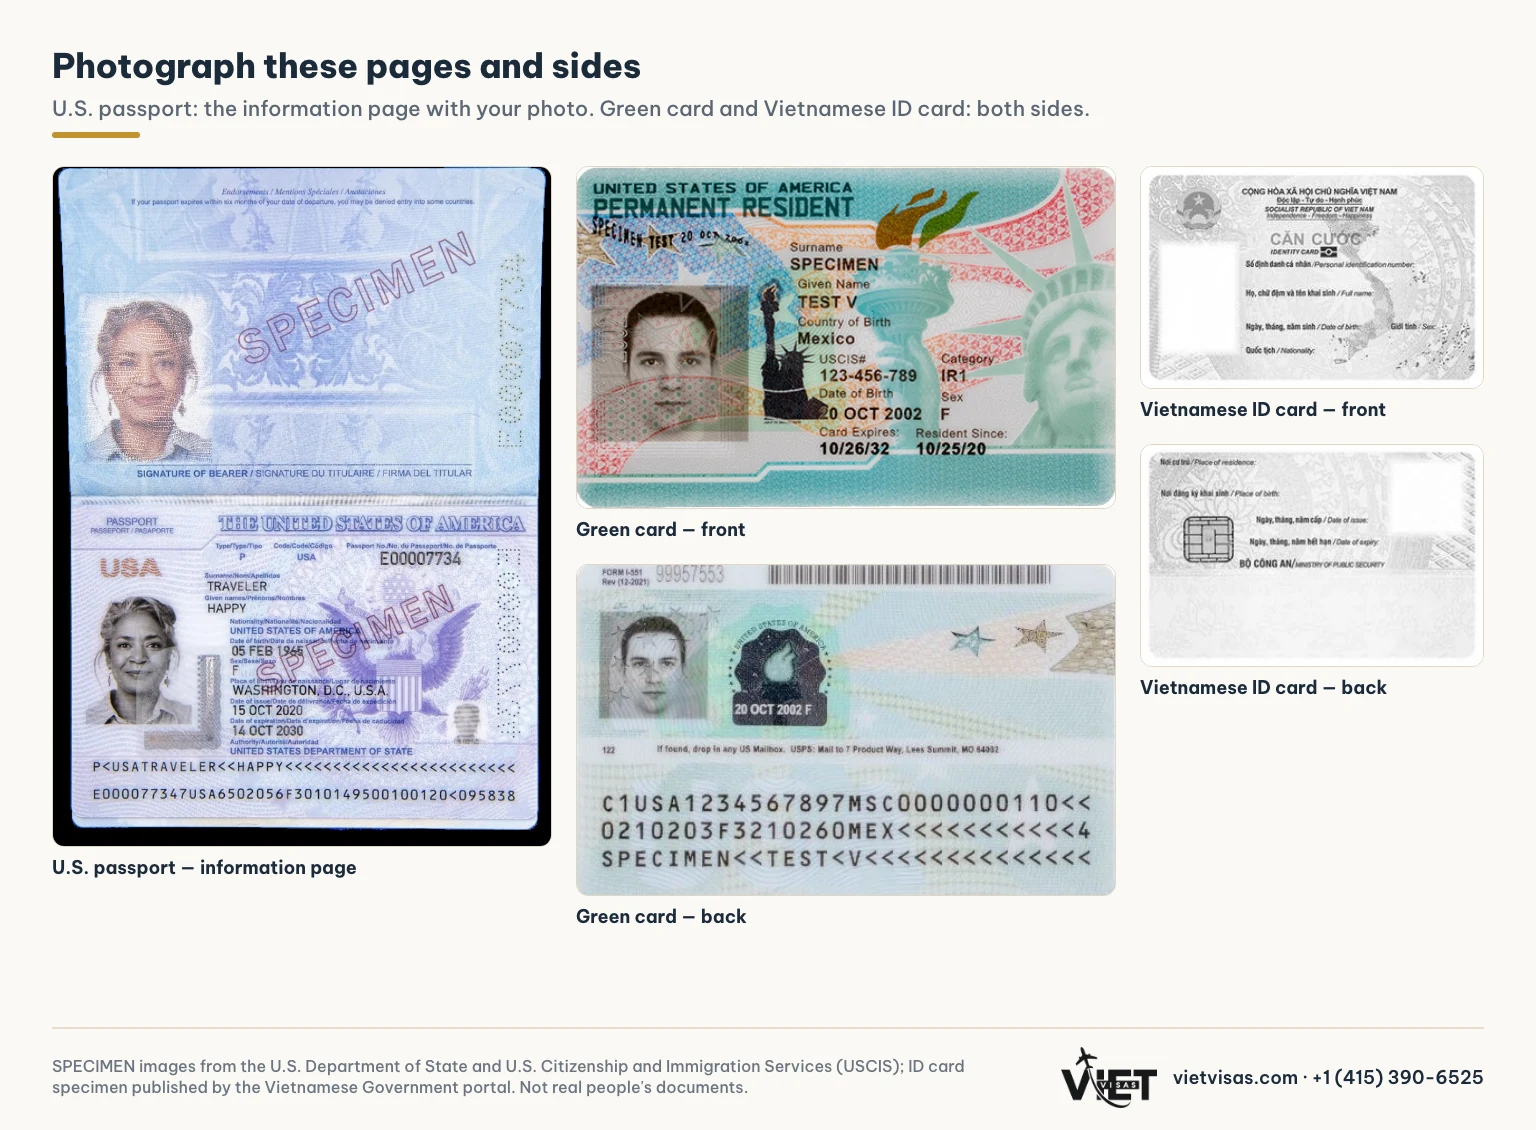
These are specimen images published by the U.S. Department of State, U.S. Citizenship and Immigration Services (USCIS) and the Vietnamese Government portal, not real people's documents.
Birth certificate, marriage certificate, divorce decree
- Photograph the whole page, including stamps, signatures and registration numbers near the edges.
- If the back has text, a stamp or a certification, photograph the back too.
- U.S. documents often carry a raised (embossed) seal with no ink, which barely shows in a photo. Shoot where the light falls across the page from one side, and the seal stands out.
Multi-page documents and property papers
- One photo per page, every page, in order — including pages that only carry a signature or a stamp.
- For Vietnamese land and house certificates (sổ đỏ, sổ hồng), photograph the pages recording changes at the back, not only the first page.
- Long judgments and decisions are easiest to send as a single PDF.
Portrait photos
Some applications, such as passport renewal or the 5-year visa exemption, need a portrait photo. You can take it at home if you get these right:
- Plain white background: stand in front of a white wall with nothing behind you.
- Look straight at the camera, head level, with a natural expression.
- No glasses, no hat, hair tidy and off your face.
- Even light on both sides of your face, with no shadows on your face or the background.
- Have someone else take it from about 1–1.5 metres (3–5 feet) away. Don't use the front camera — at close range it distorts your face.
- No beauty filters and no editing.
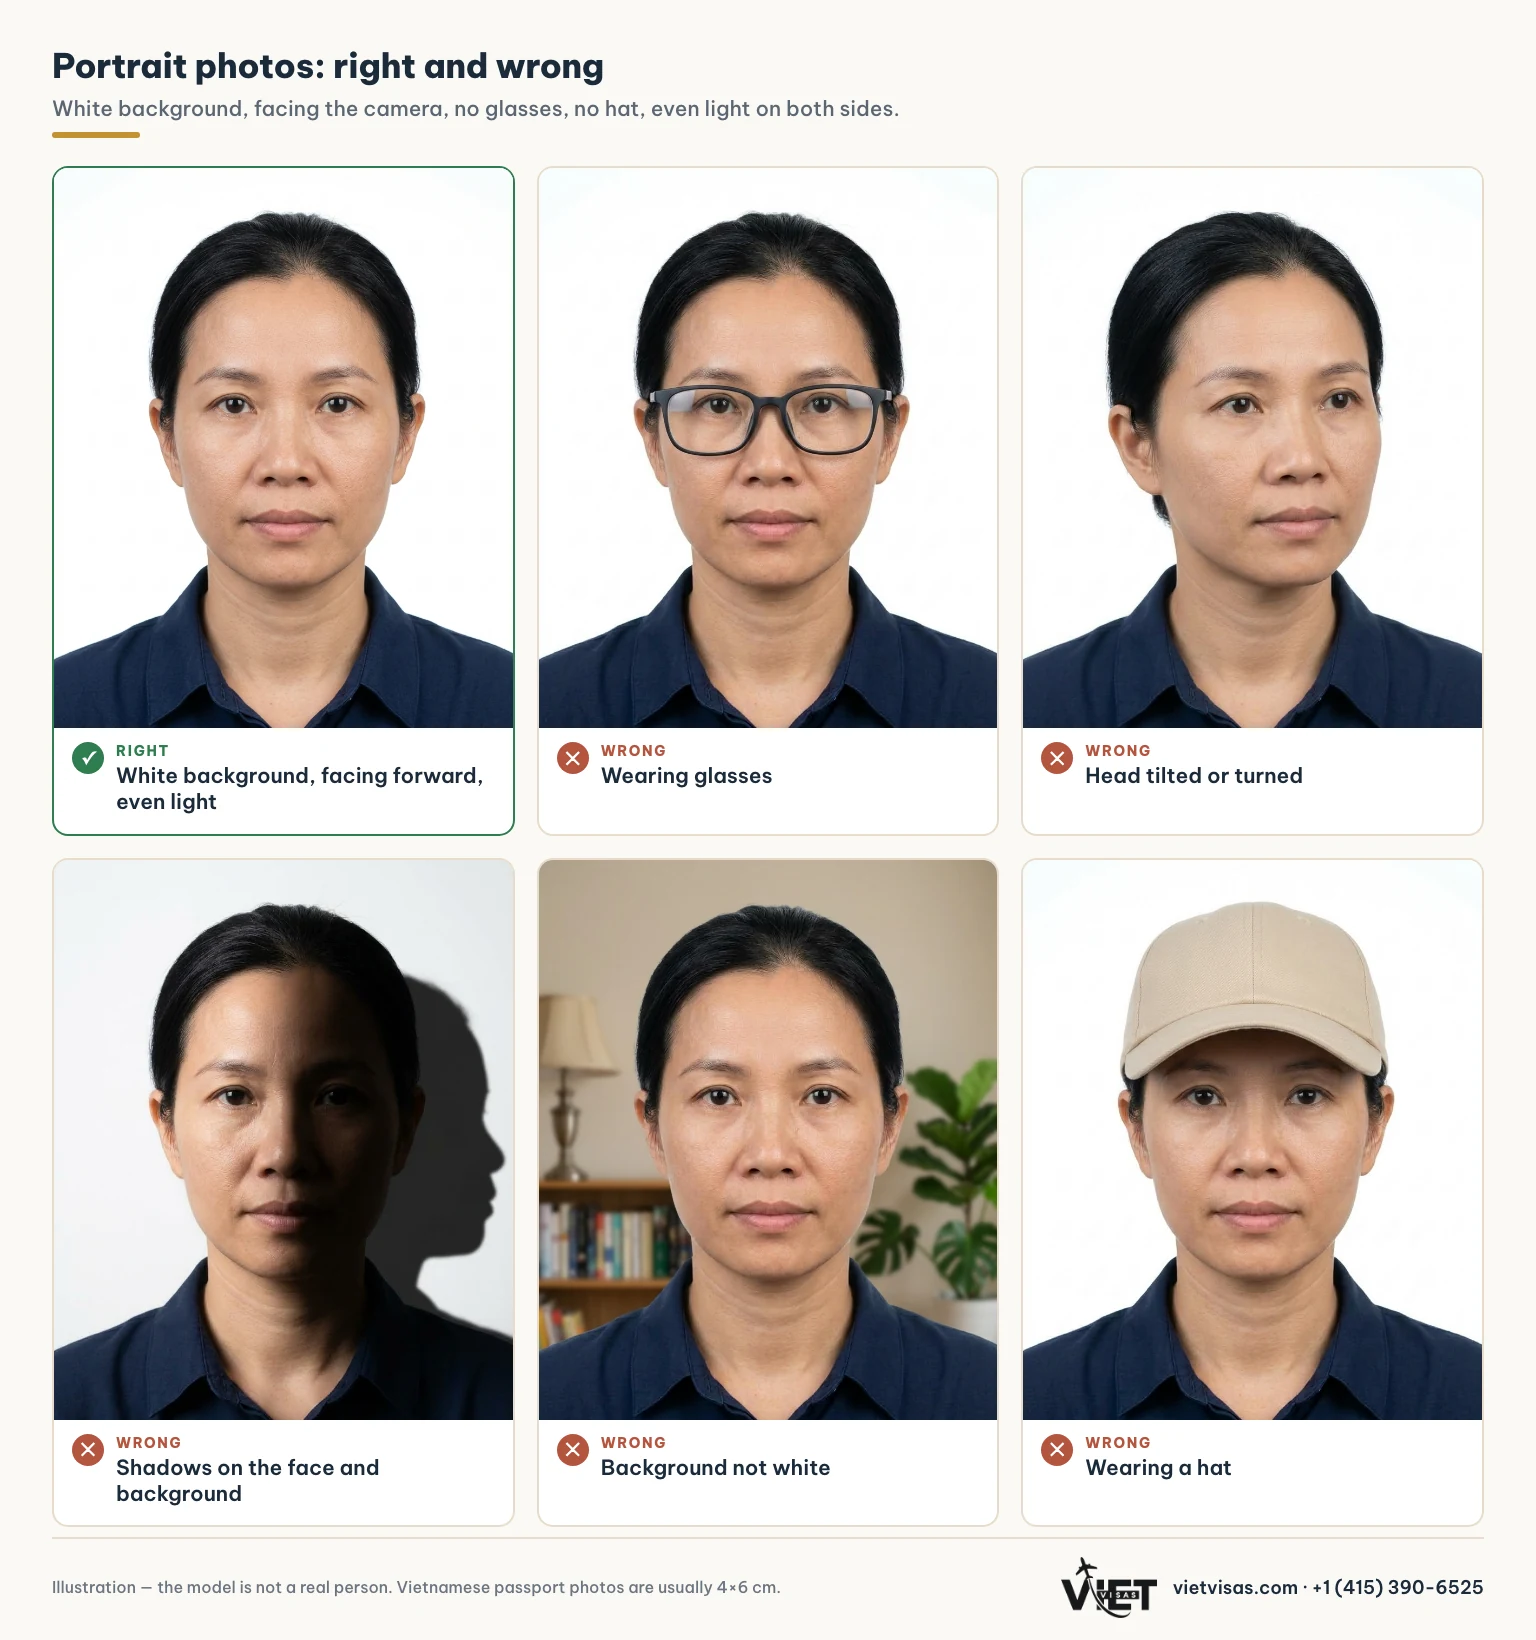
Vietnamese passport photos are usually 4×6 cm. Just send the original photo from your phone; if your application needs a different size or a printed photo, you'll be told in advance.
Sending photos without losing detail
- Send the photo itself, not a screenshot of it.
- Messenger and Zalo may compress photos, blurring small text. On Zalo, choose to send in HD or as a file. If the text is still blurry, send it by email, which keeps the original quality.
- Label each photo when sending several documents at once, for example "passport – information page".
- Only send documents through the official channels of whoever is handling your application. Never post photos of documents in groups or public comments.
A final check before you send
- Every word, number and stamp is still readable when you zoom in.
- All four corners are there, no edges cut off.
- No glare, no shadows, no fingers in the way.
- Colour photo, no filters.
- Cards and pages with text on the back: both sides photographed.
- Multi-page documents: every page, in order.
Frequently asked questions
Do I need a scanner? No. A recent phone is sharp enough if you follow the steps above. A scan from a scanner is of course fine too.
Are black-and-white photos okay? Send colour photos. Colour keeps red stamps, blue-ink signatures and details that black and white loses.
Do I have to send my original documents? Photos are usually enough to review your file first. Some procedures include a step that needs an original or a certified copy; if you work with VietVisas, you'll be told clearly before you have to send any document.
What if a document is old, torn or faded? Photograph it as clearly as you can and send it anyway. Whoever reviews your file will tell you whether it can still be used or you need a new copy.
Not sure your photos are good enough? Send them to VietVisas on Messenger — we'll take a look and tell you if anything needs retaking.